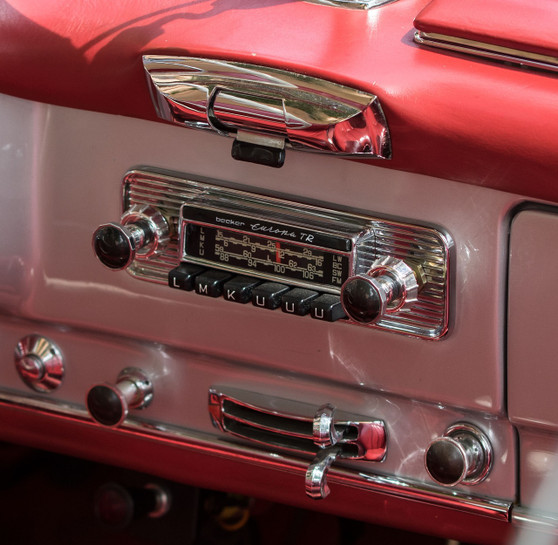
Whether you’ve just bought a new Custom Autosound radio, pulled an original unit from storage, or want to make sure your classic car stereo is still in good shape, a bench test is the safest way to confirm performance before installation. Bench testing helps prevent wiring mistakes, avoids damage to your dash, and ensures your radio is ready to deliver sound the moment it’s installed. Here’s a step-by-step guide.
1. Gather the Right Tools
To bench test properly, you’ll need a few basic items:
-
A 12-volt power source (a car battery or regulated power supply).
-
A set of alligator clip jumper wires.
-
At least one 4-ohm test speaker.
-
A safe, non-conductive work surface.
Optional extras include a multimeter to check voltage and a spare antenna to confirm AM/FM reception.
2. Identify the Radio’s Wiring
Before connecting anything, identify the power, ground, and speaker wires. Most modern classic car radios from Custom Autosound, Retrosound, or Antique Automobile Radio include labeled harnesses. For original radios, consult a wiring diagram.
-
Yellow/Red wire: 12V constant power.
-
Black wire: Ground.
-
Ignition wire (often red): Switched 12V.
-
Speaker wires: Usually paired by color.
Getting this step right is essential—reversing polarity or connecting wires incorrectly can damage the radio.
3. Connect Power and Ground
Start by attaching the ground wire to the negative terminal of your power source. Next, connect the radio’s constant power and ignition wires to the positive terminal. If your radio has a fuse, confirm it’s intact before powering up. Once connected, your unit should light up or display power indicators.
4. Test Speaker Outputs
Attach your test speaker to the radio’s front left or right channel. Slowly increase volume and tune to a local station, or plug in an auxiliary device if the radio supports it. Listen for clear sound without distortion or static. Repeat the process for each speaker output to verify all channels work.
5. Check Additional Features
If your unit includes Bluetooth, USB, or RCA pre-outs, now is the time to test them. Connect a phone to check Bluetooth pairing, plug in a USB drive, or connect the pre-outs to an amplifier for verification.
For vintage-style radios, confirm that the tuning dial or digital display functions properly. If the unit doesn’t receive a strong signal, connect a spare antenna to improve reception.
6. Final Inspection
After verifying sound, controls, and connectivity, disconnect the setup. Inspect wires for heat or loose connections. If everything checks out, your radio is ready for installation.
Final Thoughts
A bench test is a quick, low-risk way to make sure your classic car radio is working as expected. By verifying power, speaker outputs, and features before mounting, you’ll save time, avoid frustration, and protect your dash from unnecessary work. At Vintage Car Radio, we recommend always bench testing—whether it’s a brand-new Custom Autosound model or an original piece of history.


